Why Do I Need to Replace My Radiator?
By replacing your old, inefficient radiators with a new, piping hot radiator you’ll ensure that your home is being heated properly and efficiently all year round. Not only will you save money on your heating bills, but you’ll also benefit from the new aesthetics that’ll be added to your interior design.
In this article we’re going to show you exactly how to change a central heating radiator in order to refit it for a newer model. You’ll be surprised at what you can do at home with a little determination and elbow grease, simply follow our step-by-step guide and we’ll have your new radiator up and running in no time!
How easy is it?
Modern radiator replacement is a really straightforward, no experience is needed for the job and it really can be filed and squared away in just a couple of hours.
How long does it take?
A mechanic, someone with the expertise and the know-how, could have it ready and done in less than 30 minutes. Whereas, a person doing it for the first time might take up to 2 hours — locating bolts, hauling the new unit, taking things apart, and fitting them in place.
What Tools Do I Need To Replace My Radiator?
Here’s a quick list of tools and equipment you’ll need to replace your radiator at home:
- Bucket
- Adjustable wrench
- Radiator Valve Key/thermostatic key/radiator key
- Spanner
- Tape measure
- Rags
- Radiator
- PTFE tape/thread seal tape
- Thermostatic radiator valve and matching lockshield valve kit
Considerations before you change your radiator
When replacing or re-fitting a central heating radiator it’s important to research a lot and understand your house’s needs. Choose a radiator that’s too small, and it won’t be energy efficient and heat your entire room. One too large and it will cook you. For more information on this why not try our free BTU calculator which can accurately tell you what size radiator you’ll need to heat up your desired room efficiently.
Do you want one with manual or thermostatic valves? What about one that’s made out of aluminium? Is the rest of your central heating system compatible? You have to figure out the logistics and difficulties — when replacing a radiator it’s not just about choosing a pretty new model or a cool colour. Also, you may want to consider when do radiators need replacing in the first place? Yours might be long overdue an update or they may have some lifespan left in them yet.
If you’re not sure, a pro-tip is to simply try to buy a brand new model of the one you already have. Contact that company or dealer, tell them you want to replace your radiator for the same one and they will point you in the right direction.
Our 10 Steps to replace your radiator:
- Turn the central heating system off and allow time to cool
- Place Rags Underneath The Radiator
- Close The Valves & Loosen Swivel Nuts
- Remove The Radiator & Drain Out The Water
- Remove The Old Brackets
- Measure and pre-fit your new radiator
- Lift The New Radiator Onto Its Brackets
- Reconnect The Radiator Valves
- Open Up The Radiator Valves
- Fire Up The Central Heating & Bleed Your Radiator
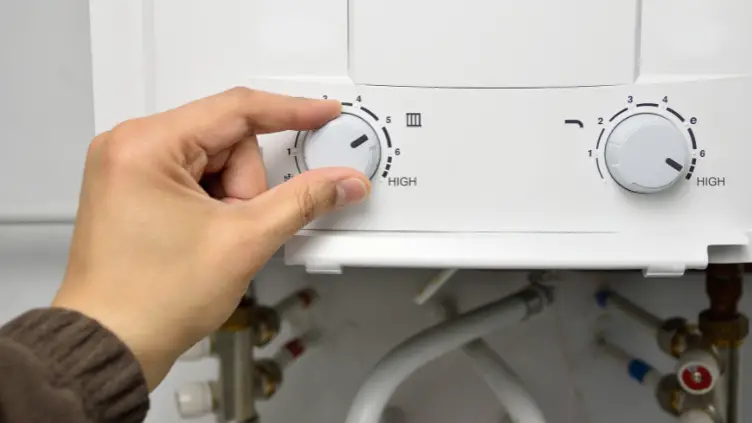
Step One – Turn The Heating Off
This is a common first step for many of our radiator how-to guides. Once your boiler has turned off and the water in the central heating system has cooled, it’s much easier to work on your radiators as they’ll not scold you if any hot water drips out of the unit and onto your skin during the removal process.
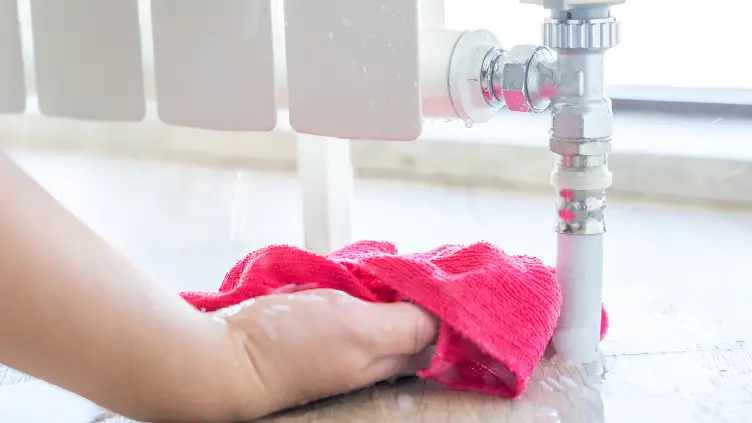
Step Two – Place Rags Underneath The Radiator
The aim here is to make sure that you’re prepared for any spillages when the valves are loosened and water can escape from the radiator. We find a towel works great, along with a bucket or washing up bowl to catch the majority of the water that is held within the unit.
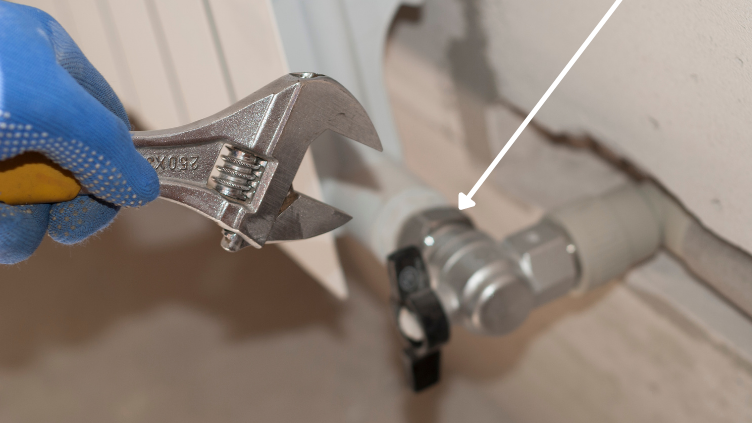
Step Three – Close The Valves & Then Loosen The Swivel Nuts
Once you’ve closed the radiator valves to prevent any more water flowing into the unit, you should use an adjustable spanner to loosen the vertical swivel nut at one side of the radiator. Water should begin to trickle out from the inlet of the radiator and into your bucket or washing up bowl. Do this for both sides of the radiator until no more water is released from the unit. You can also use a radiator bleed key on the bleed valve in order to let air back into the radiator, this should help to get the last few dregs out.
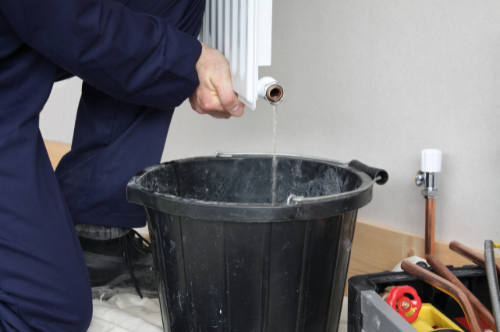
Step Four – Remove The Radiator & Drain Out The Water
In order to remove your radiator, simply lift the radiator up and tip it up to remove the water within it. If you have someone who can give you hand, this is the time to draft them into service. Your radiator will be heavy, and will likely contain some filthy water. Grab a bucket and drain the radiator before you take it out of the room.
Step Five – Remove The Old Brackets
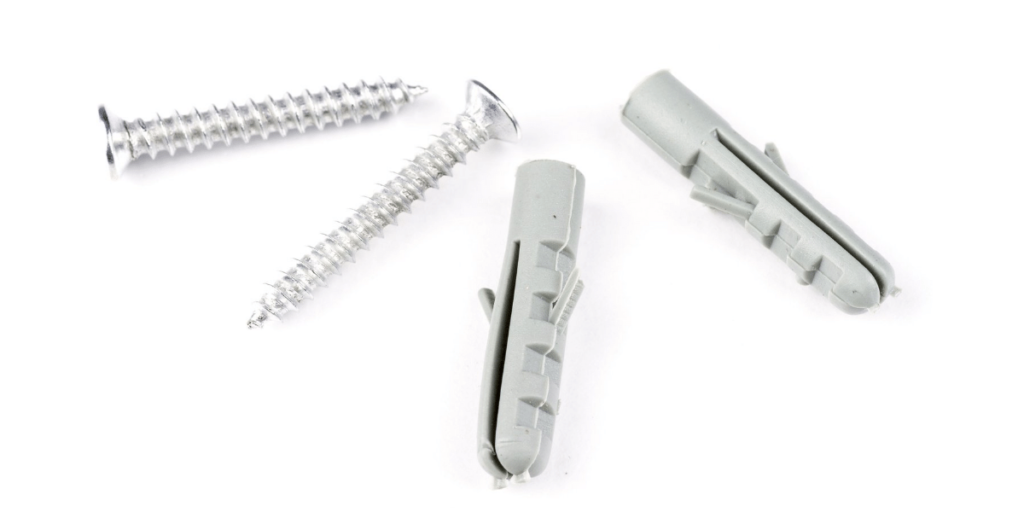
If you’re changing the size of your radiator or switching to a different brand, you may find that the brackets are slightly different to the ones you’ve currently got installed. If this is the case, simply use your screwdriver to remove the old brackets and replace these with your new, updated bracket set.
Step Six – Measure and pre-fit your new radiator
First take your new unit out of its radiator packaging. Here’s a pro-tip when replacing a radiator: newer models are much much smaller than those old clunky things you had. They pack the same BTU at half the price.
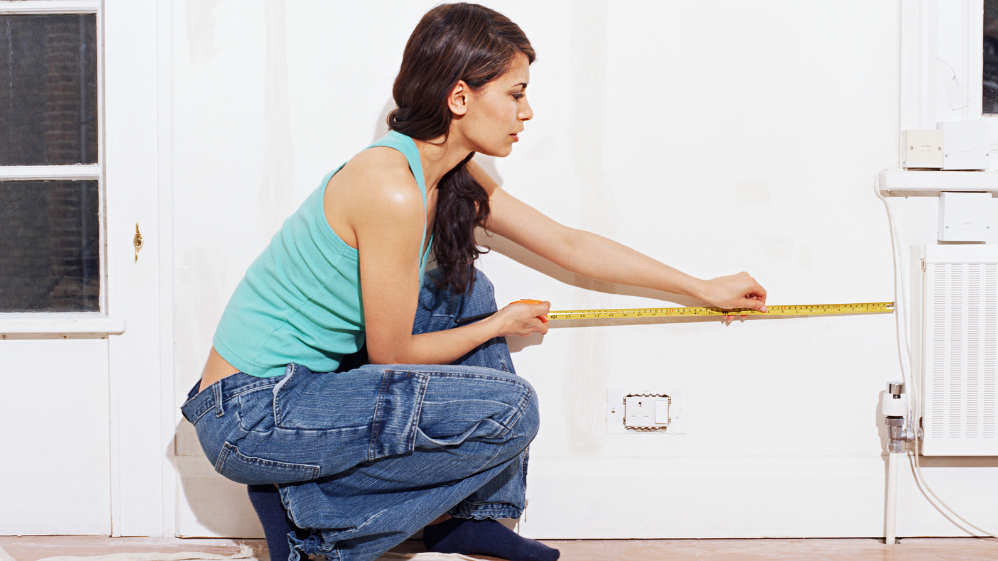
While measuring and marking things off with your pencil and ruler, it might be a good time to repaint behind your radiator. Why? Your old radiator might have left a few smears, scorch marks, and your smaller, more efficient model may not cover these.
Step Seven – Lift The New Radiator Onto Its Brackets
Simply lift the radiator onto the new brackets, ensuring that they’re fully secure before you start re-connecting the radiator to the valves.
Step Eight – Reconnect The Radiator Valves
You can now begin re-attaching the radiator inlet and outlet to the radiator valves, making sure to tighten the connector swivel nuts so that no water can escape. If you’re worried about water dripping you can always use some PTFE tape on the threads for a tighter seal.
Step Nine – Open Up The Radiator Valves
Now you can open up the radiator valves to let the hot water flow through your brand new radiator replacement.
Step Ten – Fire Up The Central Heating & Bleed Your Radiator
The final step is to turn on your heating system and grab your trusty radiator bleed key again. All you need to do is bleed the radiator to remove any of the trapped air that will be inside the unit itself. This will ensure that your radiator is running efficiently and transferring heat into the room effectively.

Hi James, I’ve a radiator that has a corroded micro bore pipe. How can I clean it up without flooding the place. I need to know how to stop the water from flowing once I take the valve off. Thanks in advance.
Hi Nick,
Unfortunately, unless you drain the system first you won’t be able to stop the water from flowing out of the system via the microbore pipe.
When you remove the valve from the radiator, water will naturally flow out due to the system’s pressure, so it’s not possible to prevent the water from flowing completely unless you drain the entire system first. A qualified heating engineer should be able to assist you with this task and provide specific advice on how best to proceed for your specific setup. They can assess the situation and offer guidance on the most effective and secure way to remove the valve and clean up the microbore pipe.
Warm wishes,
James