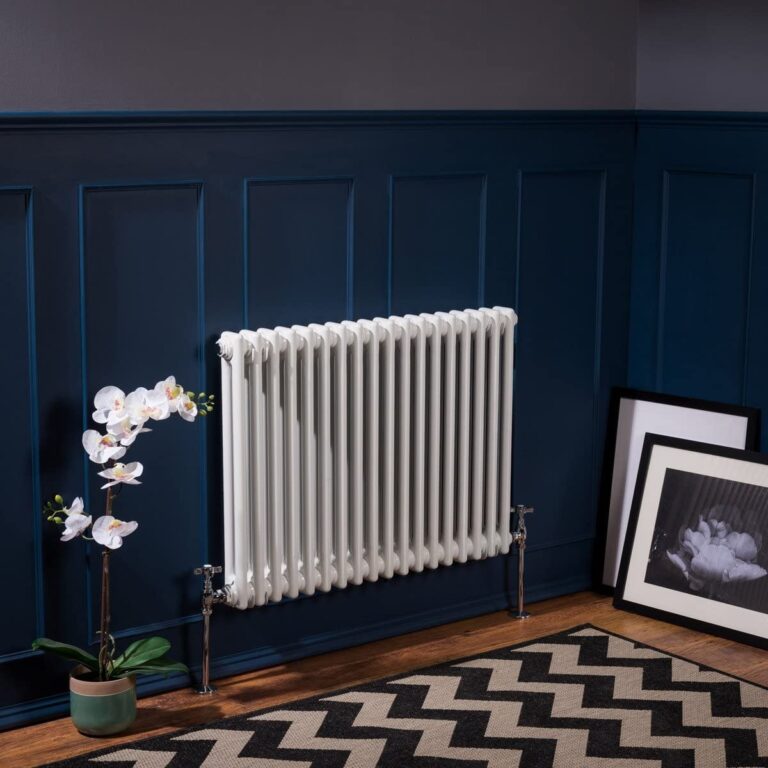
Draining your radiator is a rather easy task and one that you might find yourself in the midst of. There are many instances why it might be necessary to drain an old radiator or do the same for a new one.
In this article we’re going to give you a quick, easy-to-follow step-by-step guide on how to do just that — we’ll include a list of tools that you will need to drain your radiator, as well some pro-tips from expert plumbers on how to do it just right.
How easy is it?
Most radiators are trouble-free. If they work properly and they have been maintained then draining them is fairly easy.
How long does it take?
It shouldn’t take more than 10-20 minutes to drain any one of your radiators.
Before You Start:
Preparation is the key when it comes to radiator DIY, so ensure that you’ve got all of the equipment first before you start. This will ensure you don’t get stuck half way through the draining process or have any unexpected leaks running onto your lovely cream carpets!
What Tools Do I Need?
We recommend that you make sure you’re equipped with the following tools before starting:
- Radiator bleed key.
- Adjustable spanner.
- A pair of adjustable grips.
- Pliers.
- Towels and a sponge.
- Bucket or painters rolling tray (i.e. somewhere to catch the water).
Our 6 Steps For Draining Your Radiator:
- Turn off the central heating
- Close the thermostatic valve
- Close the Lockshield valve
- Open the bleed valve
- Loosen the Thermostatic Valve Nut
- Lift and drain the radiator
1. Turn off your heating
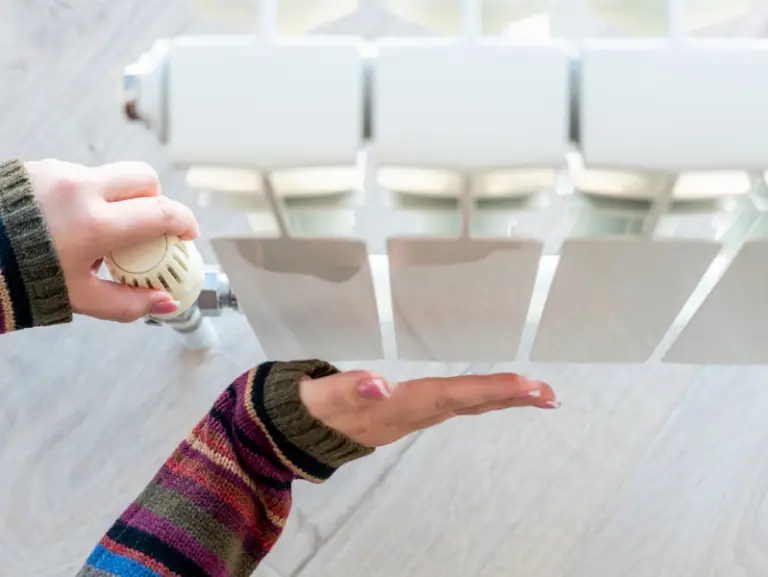
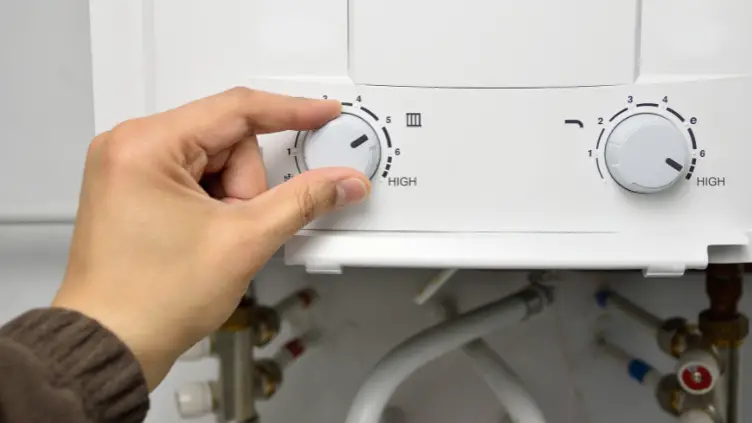
Before starting to work on your radiator and draining it, you will need to completely switch off your central heating system. This includes your boiler. Why? So the water cools down for at least an hour. Remember you will be working with a unit filled with hot water and the last thing you want is to get scalded by it.
This is one of the most important steps. Make absolutely sure, before draining your radiator, that it is cool to the touch. Stay frosty.
2. Close the Thermostatic valve
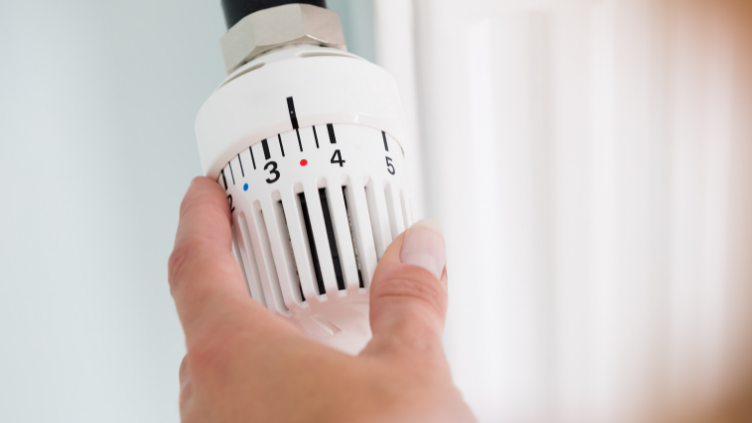
If you have a new radiator, you most likely have a thermostatic valve. Most of the time, you can find this valve at the bottom left side of the radiator. Look for the valve with the numbers on it. Turn the valve clockwise until the arrow on the dial points to zero.
If it’s an old unit or you don’t have a thermostatic valve, then skip this step. Or for more information on replacing or updating your radiator valve check out our helpful guide on this.
3. Close The Lock-shield Valve
No matter what unit you have, it will come equipped with a lock-shield valve. This is the second valve, opposite to the thermostatic valve. Newer models only need you to twist the plastic cap on it clockwise until it doesn’t turn anymore.
What about old models?
In that case, you will need a bit more legwork. On the top of the plastic cap, you will find a screw. Take it out with either a flathead or Phillip’s screwdriver. Once the screw is out, you will have to pop the plastic top and simply lift the cap off.
Grab a pair of pliers – don’t touch the metal end since it might still be hot – and turn the metal top under the plastic cap clockwise. Once it can’t go any further to the right, the flow of water will cease – this is how to turn your radiator off.
4. Open The Bleed Valve
Using your radiator bleed key, simply twist the radiator bleed valve anti-clockwise to allow air into the radiator. This is a practice called radiator bleeding and by doing this step the water should flow out of the radiator more freely and in a shorter space of time.
5. Loosen The Thermostatic Valve Nut
Now that you’ve dealt with both valves, and closed them, you can begin to disconnect the radiator. You will first, if you have a thermostatic valve, need to tackle this one. If you don’t proceed directly to your Lockshield valve.
- Lay down your towels around the valves.
- Place a large container that fits underneath the unit so it catches the run-off water inside.
- Grab the valve and use your adjustable spanner to loosen the TRV nut. This is the nut that connects the valve to the radiator.
- As the nut begins to loosen, water will begin to flow out of the unit.
- Afterward, after you’ve loosened the nut, take your radiator belled key and open up the blend valve. Why? This will let the airflow out of your unit and help the water trapped inside to come out.
6. Lift and Drain The Radiator
Now, with both valves loosened and opened, carefully lift your radiator to one side and let the water drain out of the unit. Take your time and make sure the unit is as dry as possible.
Once that’s done, give it a couple of minutes so it completely drains, before doing anything to it. Now, you should be able to remove the radiator from the wall, or even paint behind it if you’re looking to redecorate.

