If you’re looking to paint behind your radiators quickly and easily then you’ve come to the right place.
You’ve essentially got three options, you can either;
- Keep the radiator on the wall and drop the radiator forwards at it’s valves (Jump to Pivot method).
- Keep the radiator on the wall and use an long brush to reach behind the radiator (Jump to Extended Painting Tools).
- Remove the radiator fully to allow full access to the wall (Jump to Full Radiator Removal)
At Heat Adviser, we think it’s much easier to keep the radiator where it is, as it doesn’t require you to touch any valves, drain any radiators or turn off your central heating system.
If you’re looking for the easiest and fastest option then you can’t go wrong with option 1 (pivoting the radiator forwards without draining it or removing it). It’s a fairly nifty trick so it’s sure to impress your friends and family when you show them how it’s done!
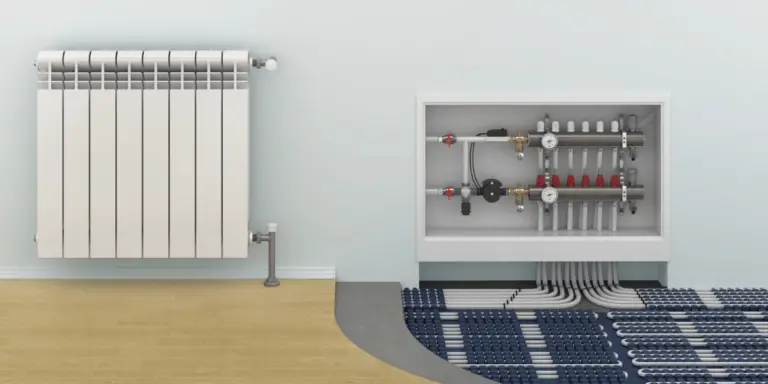
However, this pivoting method only works for radiators where the inlet and outlet are attached at both bottom corners of the radiator.
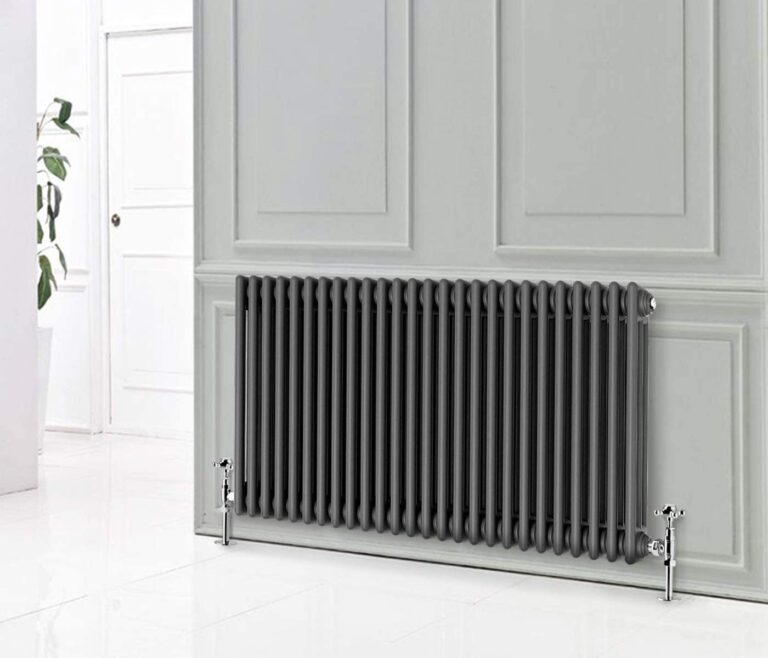
So if you’re looking for tips on painting behind a column radiator or a towel radiator then you may need to resort to option 2 (using an extended painting tool).
Anyway, without further ado – let’s start with the two methods that don’t require you to remove the radiator from the wall.
How To Paint Behind A Radiator Without Removing It
To paint behind the radiator without removing it you’ll need to pivot the radiator forwards on it’s valves, or resort to using a tool such as a long-reach radiator brush. These two methods are much faster and easier than taking the radiator off the wall.
Of the two methods, we prefer to use the pivoting method as there’s no need to purchase an additional tool.
Simply follow the steps below to see how it’s done:
1. The Pivot Method (Fastest & Easiest)
Step 1: Close the valves
This should be fairly straightforward, all you need to do is twist the caps at each end of your radiator until they are sealed shut. There should be no water flowing in or out of your radiator.
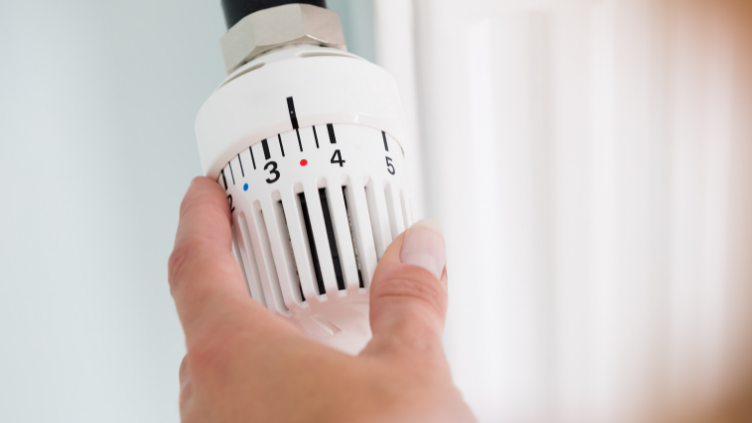
Remember… to turn the radiator off you’ll need to turning right tightens the valve (clockwise) and turning left loosens the valve (anti-clockwise).
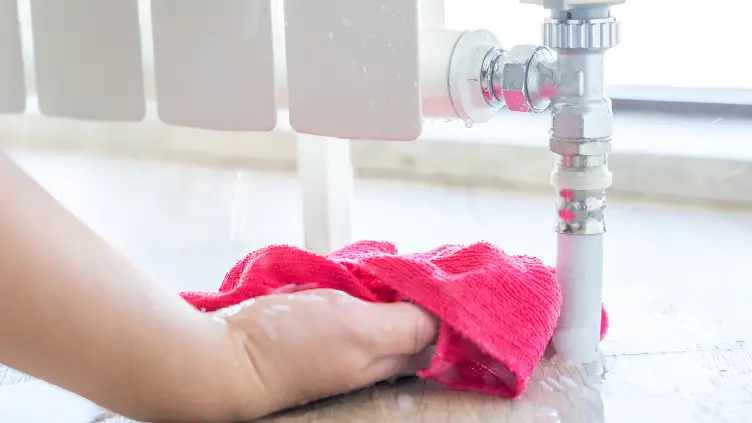
Step 2: Place a rag or towel between the valves and the wall
In the next step we’re going to loosen a nut which might release small amounts of water, this is an optional step but it ensures any drops are soaked up into the rag and don’t seep into the carpet.
Step 3: Loosen the vertical nut between the valve and the radiator inlet
Using a spanner or wrench, apply a small amount of pressure to the vertical nuts which attach to the radiator inlets.
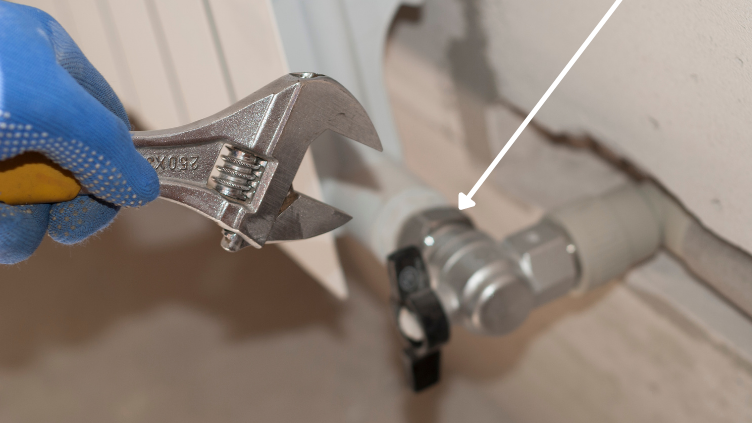
You don’t want to fully undo the nuts, just enough to loosen them that the inlets can rotate within the nut.
Step 4: Lift the radiator off it’s brackets
Gently lift the radiator up and down until it is loose from the wall brackets.
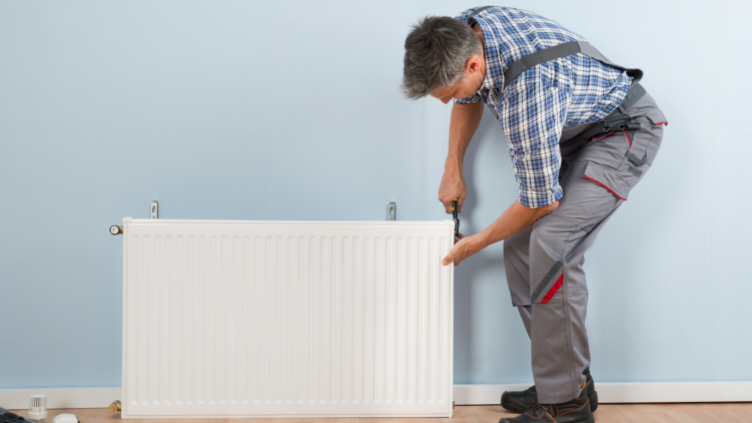
You should be able to feel the weight of the radiator as it lifts off the brackets.
Step 5: Tilt the radiator forwards
Now that the radiator is lifted off it’s brackets and the nuts are loose, you should be able to slowly pivot the radiator towards you until it is resting on the floor.
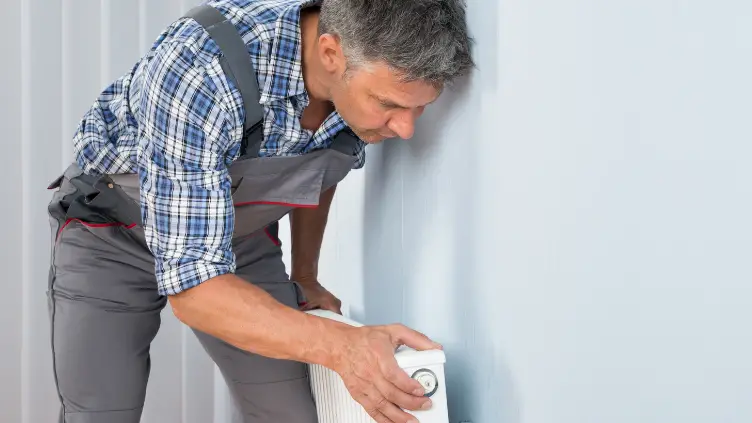
Step 6: Paint behind your radiator
Voila! You’re radiator is now on the floor, exposing the entire wall to the mercy of your paintbrush. There’s no stopping you now. For more information on how to paint your radiator, including how to prepare the surface and the recommended types of paint to use you might like to read our full radiator painting guide.

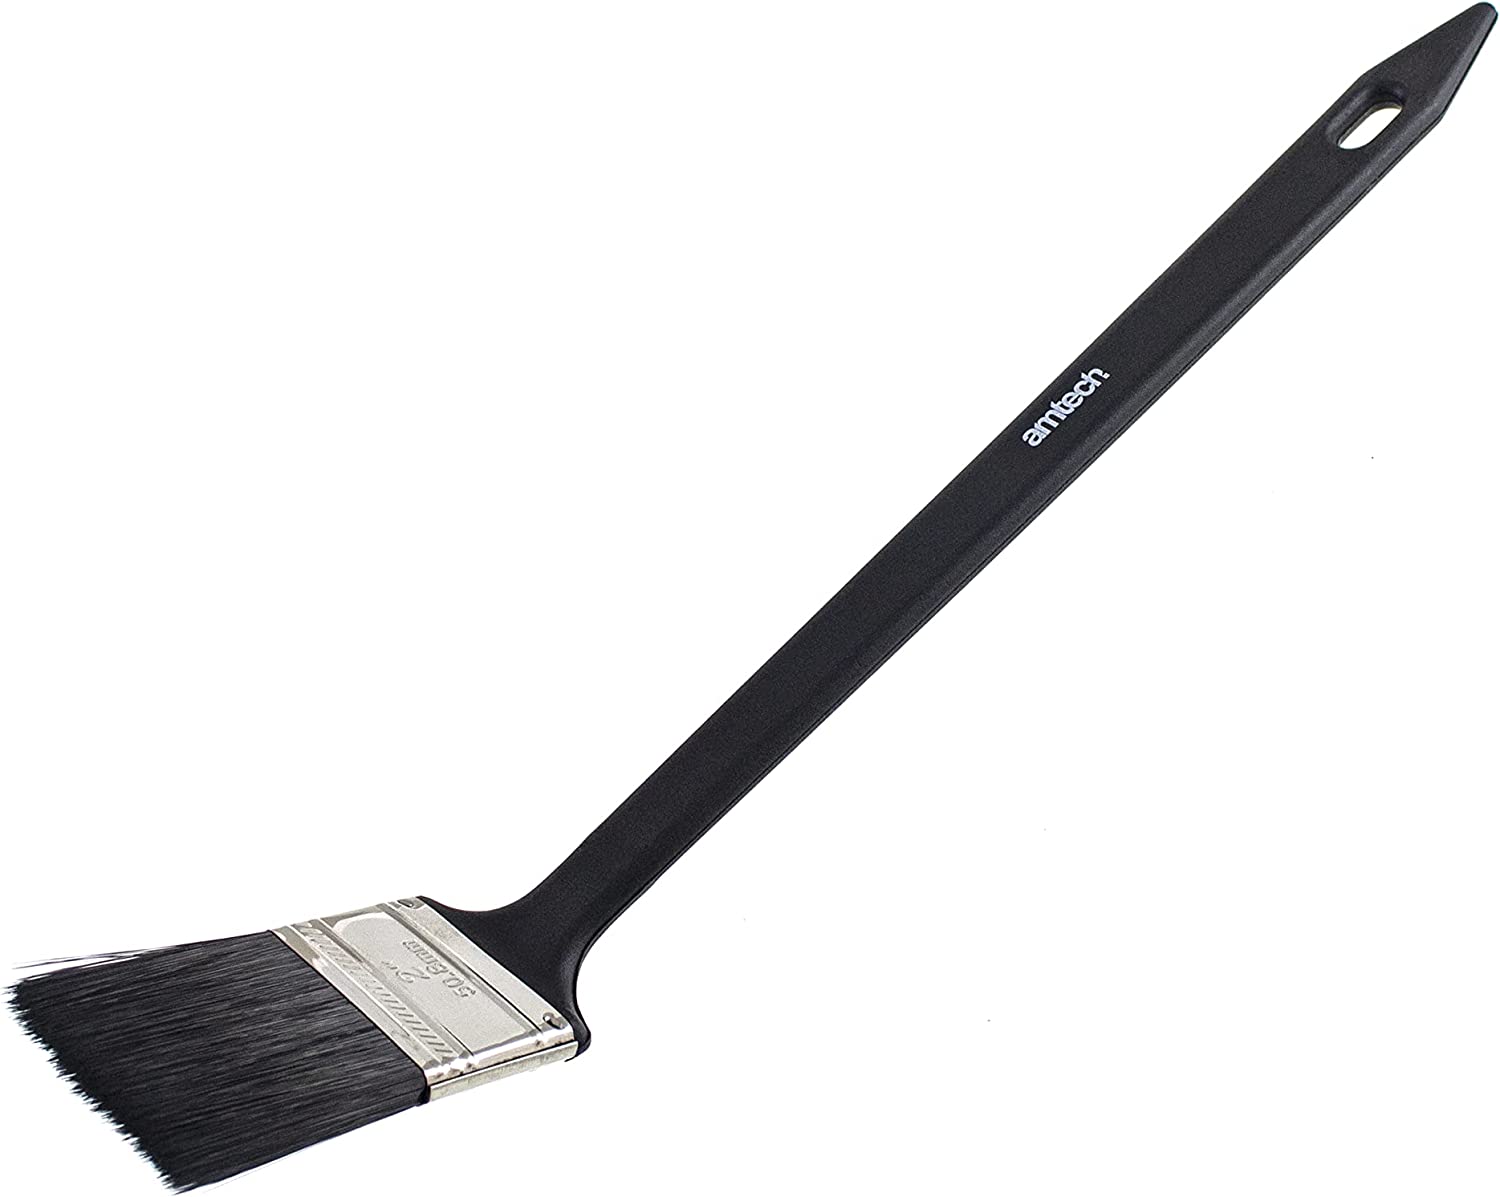
If you’re really not into DIY then your next best option could be to simply purchase an extended radiator paintbrush which allows you to reach far behind the radiator with ease. Be warned though, there might be some un-finished spots so if you’re a perfectionist then it might not be the right option for you.
If you are more of a visual learner then check out this video on how to pivot your radiator for decorating below:
2. Using An Extended Painting Tool (if your radiator won’t pivot)
This method of painting behind your radiator is perfect for column radiators or towel warmers where you are unable to pivot the radiator forward on it’s valve axis. All you need to do is:
- Prepare the area by using a tarpaulin or dust sheet underneath the radiator to catch any splashes of paint
- Using a damp cloth, remove any cobwebs from behind the radiator. Make sure the wall is clean and dry before applying any paint to the wall.
- Add paint to your extended radiator brush and carefully work your way around the radiator. Making sure not to make contact with the back of the radiator.
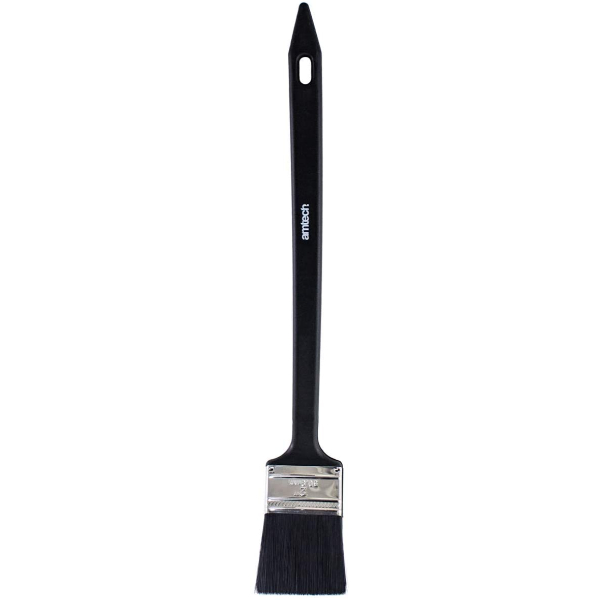
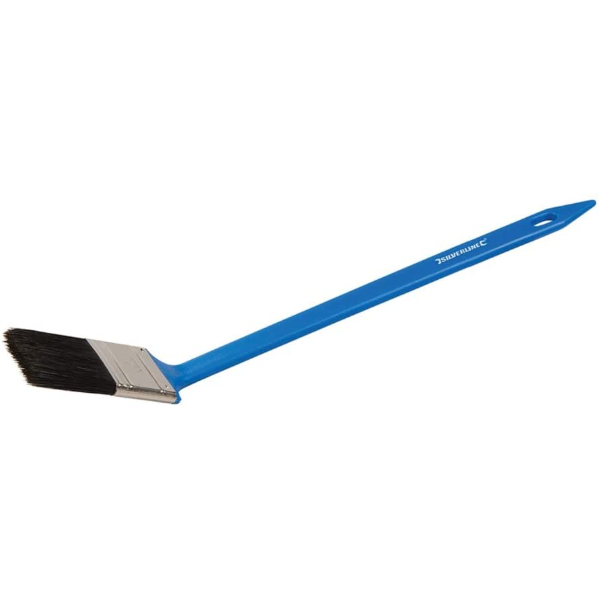
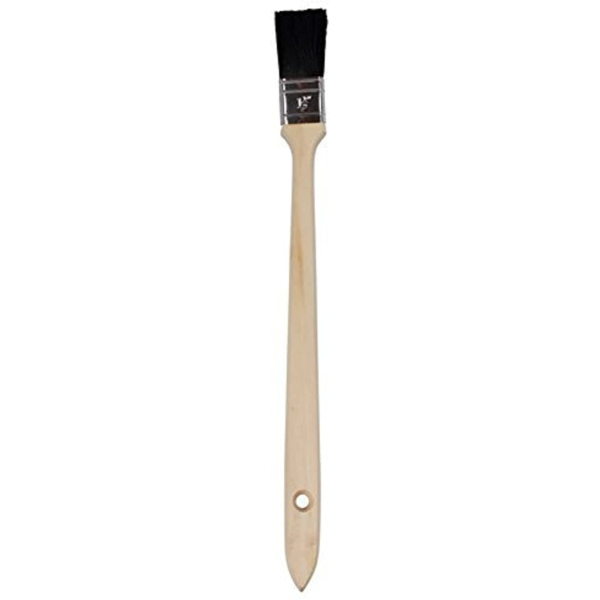
We recommend using the Amtech G4495 Long Reach Angled Brush, although there are three options that would work well:
3. Removing Your Radiator Fully For Decorating (Best for Large Radiators or Tight Spots)
In order to gain full access to paint your wall, you’ll often need to remove the radiator fully. It might sound tricky but actually a lot easier than it sounds.
Simply follow the steps below or check out our extensive guide on how to remove your radiator for a more detailed description.
- Turn off the heating
- Close the radiator valves
- Drain the water out of the radiator
- Open the bleed valve
- Loosen the other valve
- Disconnect the radiator
- Lift the radiator from it’s brackets
- Remove the radiator from the wall
- Prepare the wall by wiping it with a damp cloth
- Pick up your roller or brush and paint the wall
So there you have it… 3 creative and effective ways to paint behind your radiator with ease.
We hope you found this guide useful, why not check out some of our other guides for free heating advice?

