Isolating your radiator is quick and easy when done correctly – in this guide we’re going to walk you through the steps to do this depending on the type of valves you have installed on your radiator.
So whether you’re isolating the radiator for removal, or there’s a leak that you need to slow down quickly – we’re here to take all the guesswork out of the equation by providing a comprehensive step-by-step guide on isolating a radiator. Stay warm this December, and make sure your heating system is in good condition for the winter ahead
How easy is it?
Isolating a radiator is not as difficult as it may seem. Sure, it requires some basic knowledge of plumbing and tools, but anyone can do it with the right guidance and patience. You don’t need any special equipment or tools, just the ones commonly found in DIY tool kits. Before attempting to work on your radiators, you’ll also need to ensure your system has been depressurised.
How long does it take?
The time required to isolate a radiator will vary depending on which type of valve is fitted to your system and how long it takes for you to acquire the correct tools. Generally speaking, if all goes according to plan, then isolating a radiator should take no more than 30 minutes from start to finish.
What Does “Isolating” A Radiator Mean?
Isolating a radiator means cutting off the water supply from entering that particular radiator so that it can be safely removed without causing any damage or leaks within your home’s central heating system. It’s a necessary step for removing a radiator but may also be useful if you’d simply like to turn an individual radiator off in a room that no longer needs heating.
How To Isolate A Radiator With A Turn Valve
If your radiators have turn valves, then follow these steps. Firstly shut off the main stopcock (located near your boiler) and turn off both sides of the turn valve until they don’t move anymore. This will cut off the water supply from entering that particular radiator.
Second, unscrew both sides of the valve using an adjustable spanner. Finally, remove both sides of the valve completely and fit blanking plugs into each side where the valves were removed from.
How To Isolate A Radiator With A Thermostatic Valve
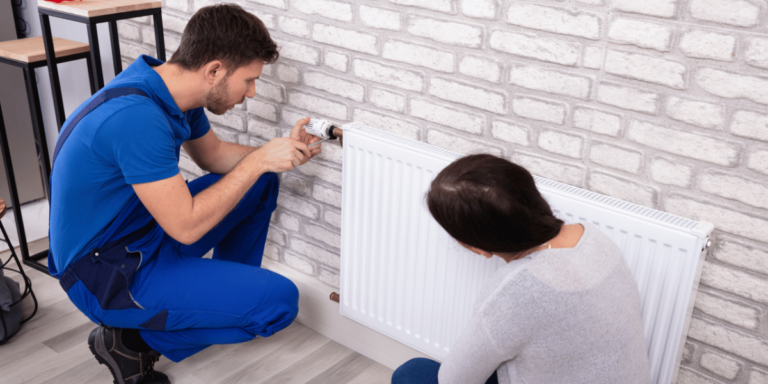
For radiators with thermostatic valves, start by setting both sides of the thermostatic valve at its lowest temperature setting. This will cut off the water supply from entering that particular radiator. Then, unscrew both sides of the valve using an adjustable spanner and remove both sides of the valve completely. Finish by fitting blanking plugs into each side where the valves were removed from.
How To Isolate A Radiator With A Lockshield Valve
For lockshield radiator valves – first, fully close both sides of the lockshield valve until they don’t move anymore. Then, unscrew both sides of the valve using a spanner and remove both sides of the valve altogether. To finish isolating the radiator, fit blanking plugs into each side where the valves were removed.
Each of these valves follows a similar, straightforward process with minor differences. So, once you have isolated one type of radiator, you can move on to the rest in your home.
Conclusion
In conclusion, isolating a leaking radiator isn’t as scary or intimidating as it may seem. As long as you know what kind of valves are fitted onto your system – following our guide above should help make this task much easier and quicker for anyone looking to replace their old, worn-out radiators with new and improved ones. Just remember, safety always comes first. If ever unsure about anything regarding plumbing works within your home, contact professional services immediately, who can help advise further.
FAQ’s
Why Would You Need To Isolate And Remove A Radiator?
There are many reasons why one would want or need to isolate and remove a radiator, such as replacing old or damaged piping, updating decor with new paint colours or wallpaper, repairing leaks in walls behind radiators etc.
What Tools Do You Need To Isolate A Radiator?
The only tools needed for this job are an adjustable spanner (or wrench) and two blanking plugs which can be purchased at most hardware stores and online retailers. Make sure you wear protective eyewear when working near any plumbing fixtures, as there may be a risk of splashing/spraying water due to pressure changes within pipes or connections being loosened too quickly.
How Do I Know If My Radiator Is Isolated?
After fitting blanking plugs onto each side where your valves were previously located, check for any signs of water leakage around them – if there are none, congratulations – your radiator has been isolated successfully.
Can You Save Money By Isolating A Radiator?
With the current cost of living crisis, many people in the UK are opting to isolate their radiators in an effort to save money on bills. Isolating a radiator involves fitting valves that control the flow of hot water from your boiler into each individual radiator in the house. This allows you to turn off the heat in rooms that are not being used or have been left unoccupied for long periods of time.


