What is radiator Flushing?
Radiator flushing is the process of running fluid through your central heating system at high pressure in order to remove sludge and dirt that has accumulated within your radiators. It can be done by yourself or with the help of a professional plumber, but it’s important to know how to do this correctly so you don’t damage your system.
It’s also important to note that there are two methods for flushing your heating system. These are:
- Flushing a single radiator by removing it from the wall and expelling the sludge out with a garden hose.
- PowerFlushing the entire heating system using a machine (provided by a heating engineer) with special chemicals.
Today, we’re going to focus on removing the sludge from one radiator at a time by removing it and using a garden hose.
How easy is it?
If you’re looking to flush a single radiator, then it’s a very easy process which you can do yourself – even if you’re a beginner at DIY. However, if your entire central heating system requires a Power Flush then you’ll likely need to hire a plumber as it requires some heavy machinery and knowhow.
How long does it take?
Flushing a single radiator only takes between 20-30 minutes per unit, depending on your speed and experience. However, for a full Power Flush of your entire heating system it’s likely to take between 60-80 minutes.
Steps to flush your radiator (with a Garden Hose):
- Turn the central heating system off and allow time to cool
- Place towels and/or a bucket underneath the valves
- Loosen the valves
- Drain the radiator
- Remove the unit from the wall and place outside
- Use your garden hose to flush sludge out of the radiator
- Re-fit the radiator to the wall and connect the valves
- Use a bleed key to remove trapped air from the radiator
Tools you’ll need:
Step 1: Turn the central heating system off and allow time to cool
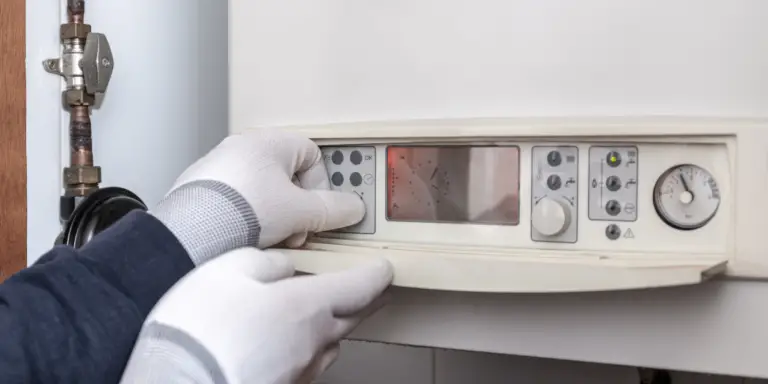
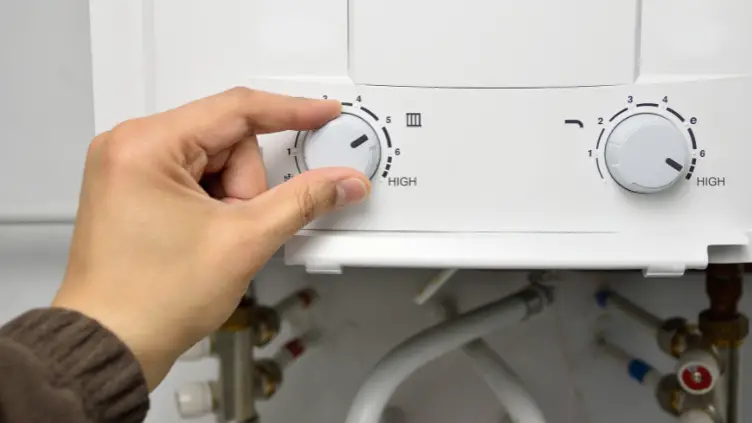
In order to remove the radiator, you’ll first need to switch your heating off so that you don’t scold yourself with the hot water as it is drained into your bucket. Simply turn down the thermostat to zero or switch your boiler off completely.
Step 2: Place towels and/or a bucket underneath the valves
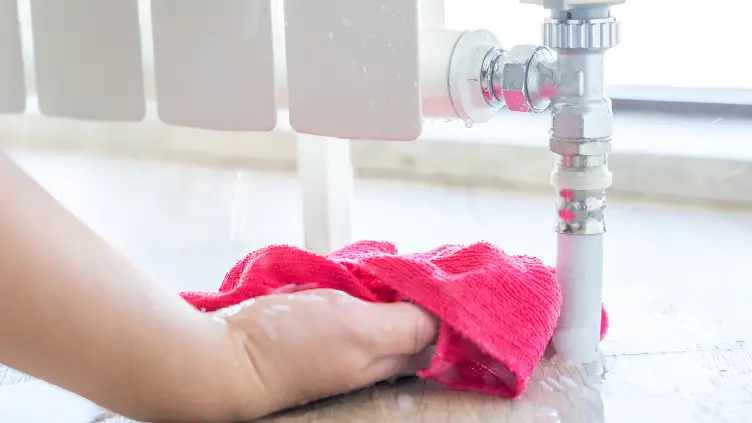
We usually like to recommend a washing up bowl as it sits nicely underneath the valves and holds enough volume for the full contents of the radiator to be drained out.
You may also like to place some towels underneath the valves to catch any additional spillage that leaks out.
Step 3: Loosen the valves
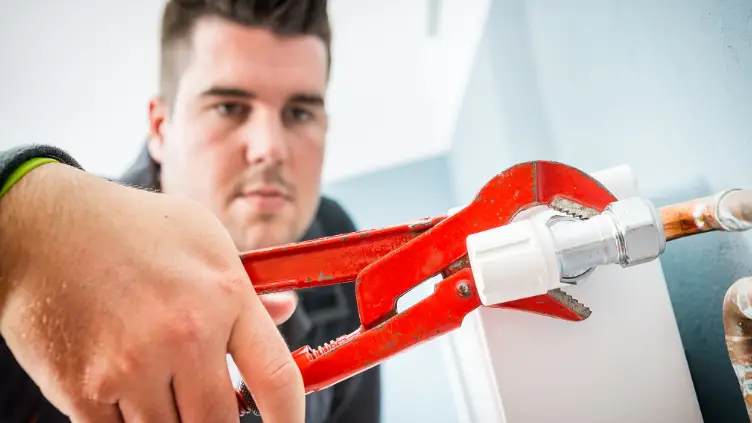
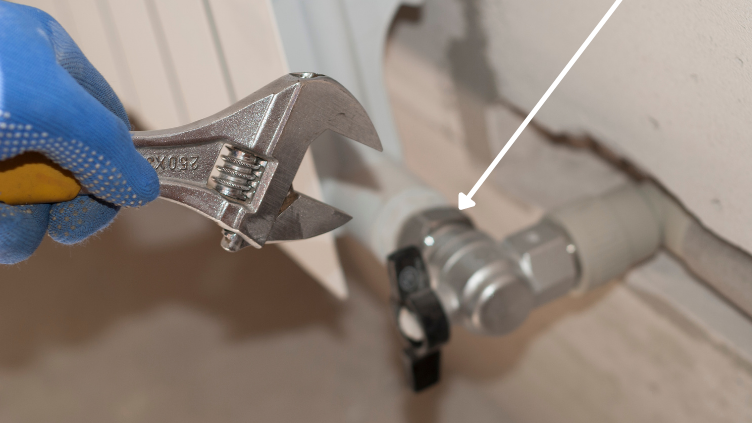
Using your wrench or spanner, loosen the vertical nut which ties the valve to the radiator inlet. As you loosen the nut, be sure to have your towel underneath to catch any water that drips out of the unit.
Step 4: Drain the radiator
Once the radiator has been disconnected from the valves at either side of the unit, simply tip one end of the radiator upwards to allow the dirty water to flow out into your washing up bowl (or bucket).
Step 5: Remove the unit from the wall and place outside
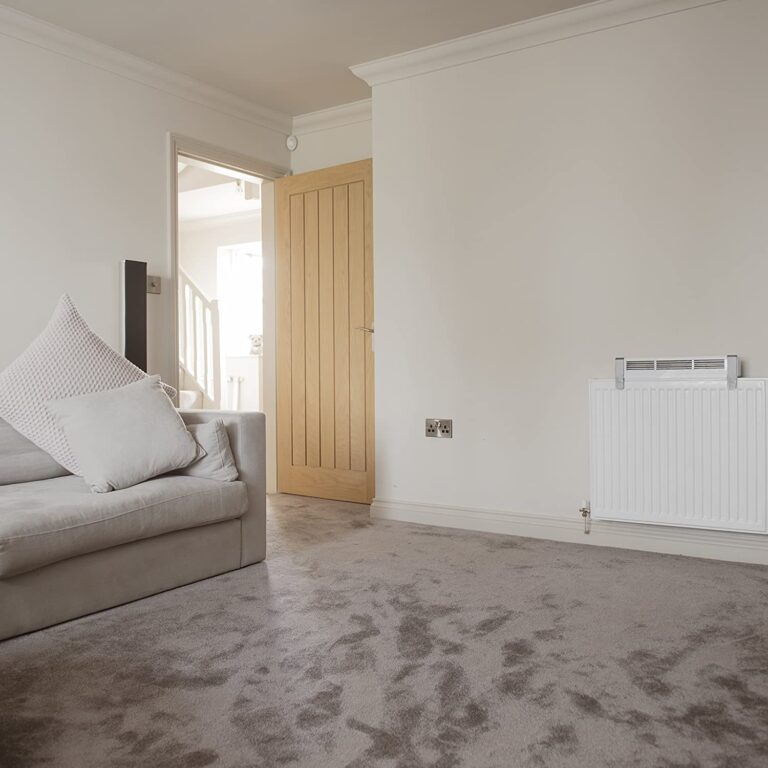
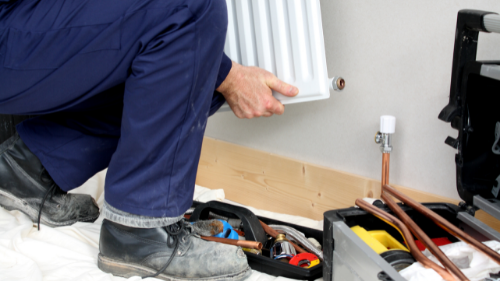
Once the water has been emptied, you should be able to lift it from its brackets and remove the radiator. At this point, be careful of any water or sludge that might drip out of the radiator – you don’t want this to drip onto your lovely cream carpet as you make your way into the garden! Find a nice flat area, preferably on grass or near a drain to place the radiator, ready for flushing.
Step 6: Use your garden hose to flush sludge out of the radiator
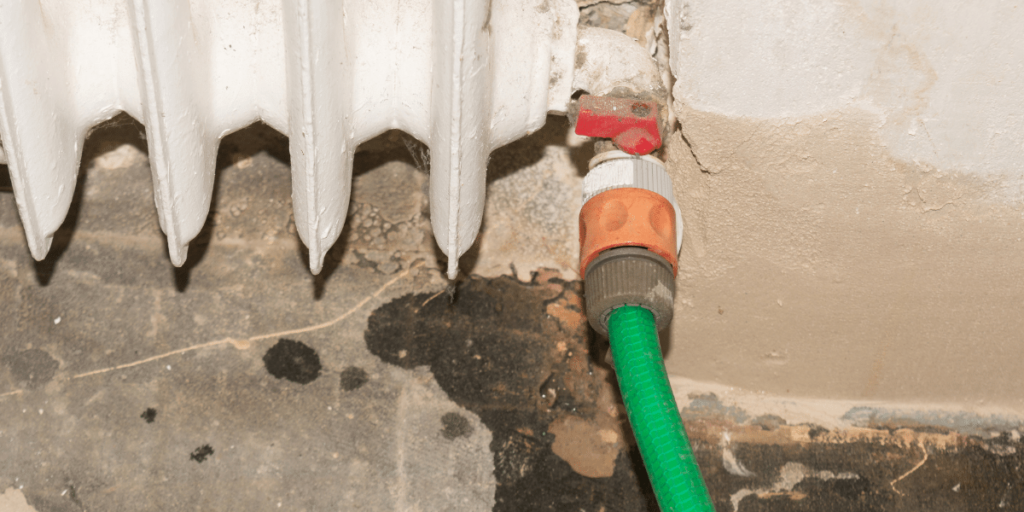
Simply connect your garden hose at one end of the radiator, tipping one end to allow the clean water to flow through easily whilst draining out at the other end.
You should notice sludge or debris being expelled from the opposite inlet, continue this process until the water runs clear.
Step 7: Re-fit the radiator to the wall and connect the valves
Now that the sludge has been fully expelled from the radiator, carefully carry it back into your home and place it back onto the wall brackets. Make sure that the inlets are aligned with the thermostatic radiator valve and the Lockshield valve at either end of the radiator.
Step 8: Use a bleed key to remove trapped air from the radiator
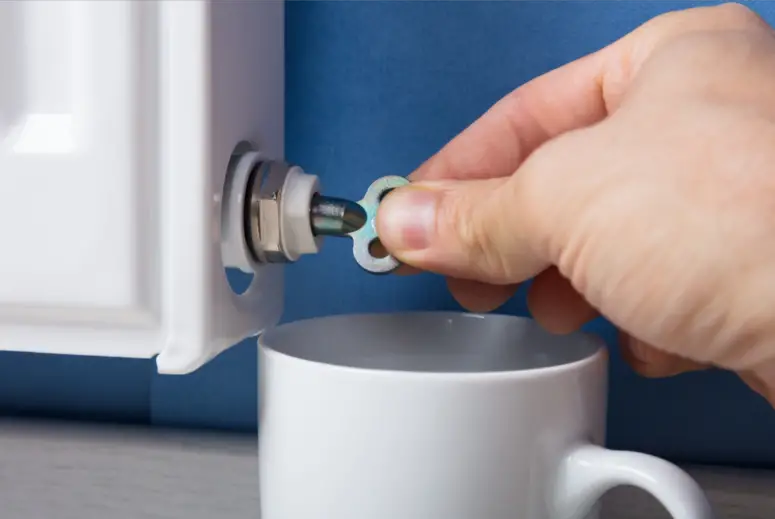
As a final precaution, you may need to use a key on the bleed valve to ensure that no air remains within the radiator. This will prevent any further issues occurring when the central heating system is switched back on later. For more details on bleeding your radiator you can follow our simple 10 step guide.
When Should You Flush Your Radiators
There are a few warning signs that’ll indicate that your radiators need flushing, these include:
- Cold spots at the bottom of your radiator
- Brown liquid or sludge being released during the bleeding process
- Your radiators need bleeding more frequently than usual
- Heat pump keeps breaking or leaking
- Boiler makes loud noises whilst on
Why should you Flush your home radiators?
Flushing your radiators helps to keep unwanted sludge and debris out of your heating system. This sludge is damaging to your radiators as it prevents the natural flow of water throughout the entirety of the heating unit. This means that your radiators are more susceptible to internal rust or leaks forming due to corrosion.
Flushing also helps to keep your heating system economical because the heat transfer from your boiler, through your radiators and into your home is more efficient when the pipes and radiators are clear of debris and trapped air. Therefore, reducing your heating bill!
How often should you Flush your radiators?
You should aim to flush your radiators every 5-6 years with a full Power Flush conducted by a gas registered engineer or plumber. However, you can flush an individual radiator whenever you notice the warning signs of trapped sludge such as cold spots at the bottom of the radiator.
Related articles:
- How to Install & Fit A Radiator At Home
- How To Heat A Conservatory
- How To Disguise A Radiator In Your Home
- How To Fix A Leaky Radiator Fast & Efficiently

